

.svg)
Everything you need to build with confidence
Every kit is delivered with clearly labelled components and a structured build guide so installation can start in the right order from day one.
.svg)
.svg)
.svg)
.svg)
.svg)
.svg)
Clearly labelled panels and a guide for every stage of your modular garden office
100%
.avif)
.svg)
A full installation guide is provided with the kit, outlining each stage of the build from base preparation through to finishing.

Every component is labelled and referenced so installers can identify each part without unnecessary measuring or cutting.

Get your modular garden office ready before delivery day
A little preparation goes a long way. Before the kit arrives, make sure the site is ready and you have the right tools on hand to work through each stage without rushing.
- Drill or impact driver, tape measure, spirit level, ladder, and foam gun
- Help lifting large panels and keeping temporary bracing in place
- A clean, dry site with labelled parts, tubs for fixings, and room to dry-fit components
Permitted development vs Modular Garden Office sizes

A structured modular garden office build guide from base to finish
Every kit includes a full installation guide, outlining each stage of the build in a clear, step-by-step format, from base preparation through to finishing.
Start with a flat, strong, dry base and confirm the footprint matches the drawings. Position the timber supports, dry-fit the floor panels, then screw them down securely and check the corners are square.

Work around the building from one corner, keeping labels visible and bracing panels as you go. Dry-fit windows and doors, level them with packers, and seal all gaps carefully.
Apply the EPDM roof in sections and seal every edge, then wrap the walls in a breathable membrane before fitting battens and cladding. Finish inside with service routing, internal boards, and laminate flooring.
.svg)
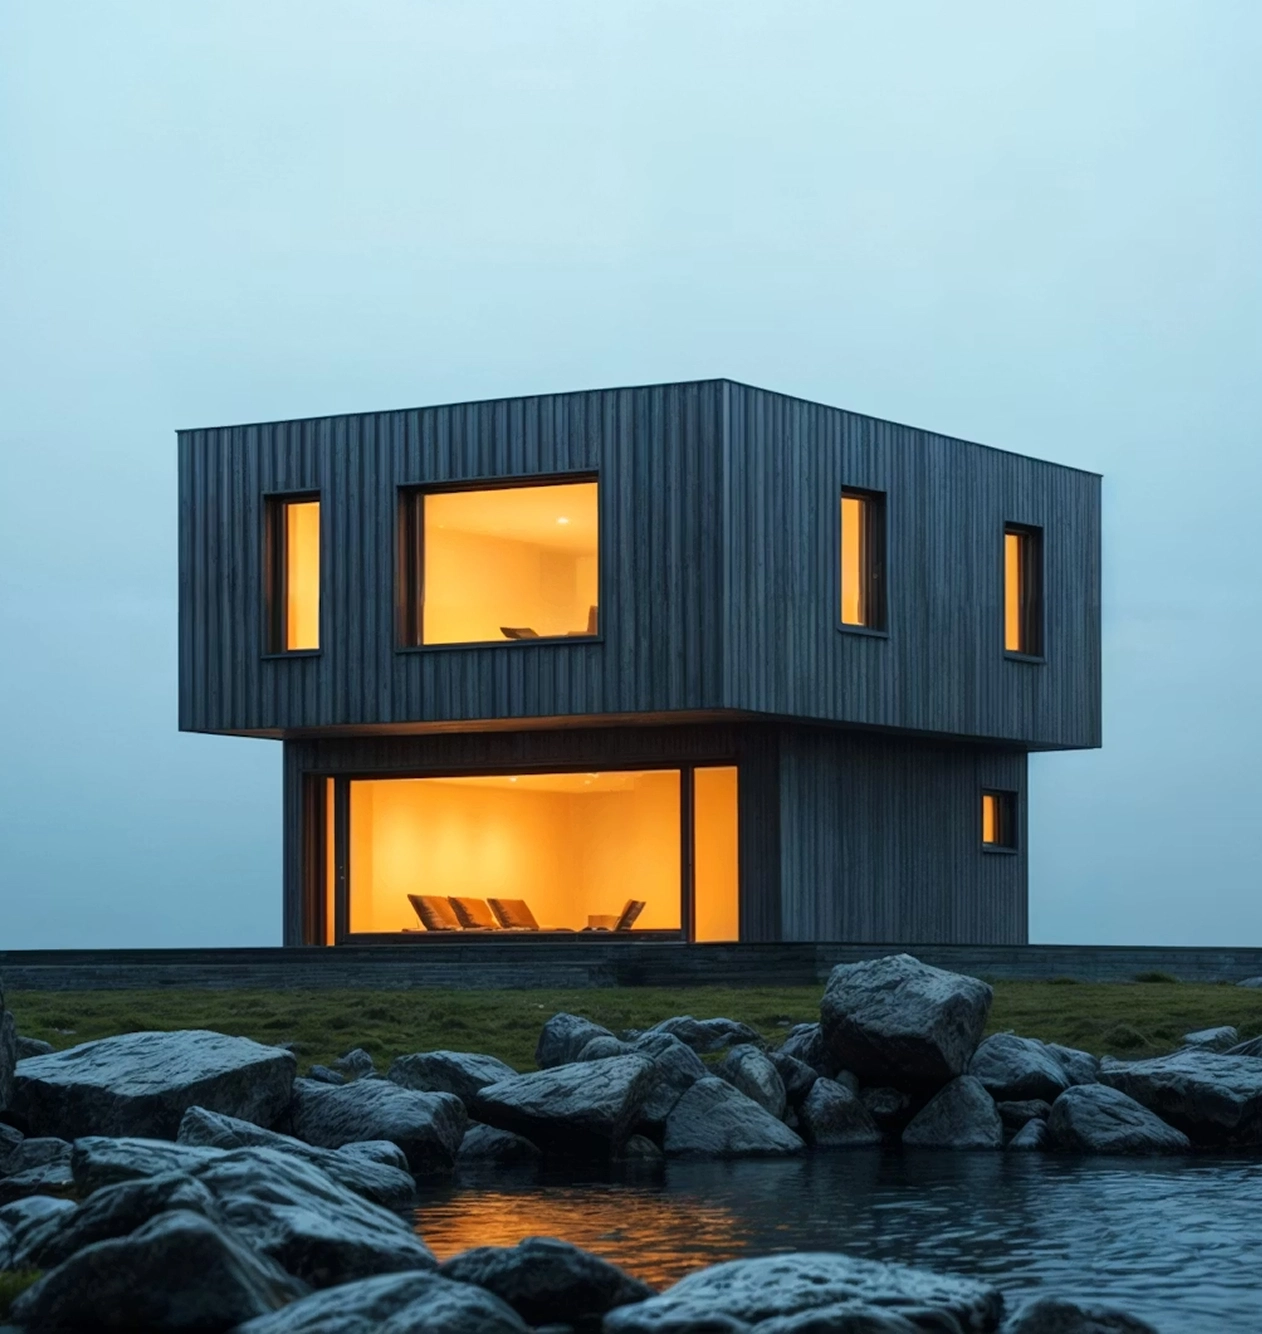
Planning permission and permitted development for your modular garden office
In many cases, a single-storey garden office can be installed under permitted development rights, so planning permission is not normally required when the main rules are followed. Planning questions should be settled before the build starts.

Modular garden office building documentation
Floor, wall, and roof layout references show exactly where each panel belongs, reducing installation errors and helping you identify parts on site.
.webp)
.webp)
.webp)
.webp)

Pre-cut SIP wall, floor, and roof panels, plus timbers, splines, and opening supports.

Rubber roof layer and adhesives, plus windows and doors with thermal and acoustic benefits.

Fixings, jointing foam, and assembly guidance, with nationwide free UK nationwide delivery.
.svg)
.svg)

.svg)